How to stick a patch with an iron
Would you like to proudly display the emblem of your favorite football club or music group on the sleeve of one of your jackets or the mascot of your summer vacation group on your backpack?
If this is the case, then one of the best ways to do this is to get patches to stick to the iron, if you don’t already have them. The patches also hide and repair snags or tears on clothing and fabric accessories. In this article, you will learn how to stick an iron patch on a fabric that you will have prepared for the operation and you will get all the advice that will allow you to obtain a clean and durable bond.
Determine the type of patch you have in your possession. On the back of some patches, you will find a layer of glue, while for others you will only see fabric. Look closely at the back of your patch to determine if you need to get adhesive material.
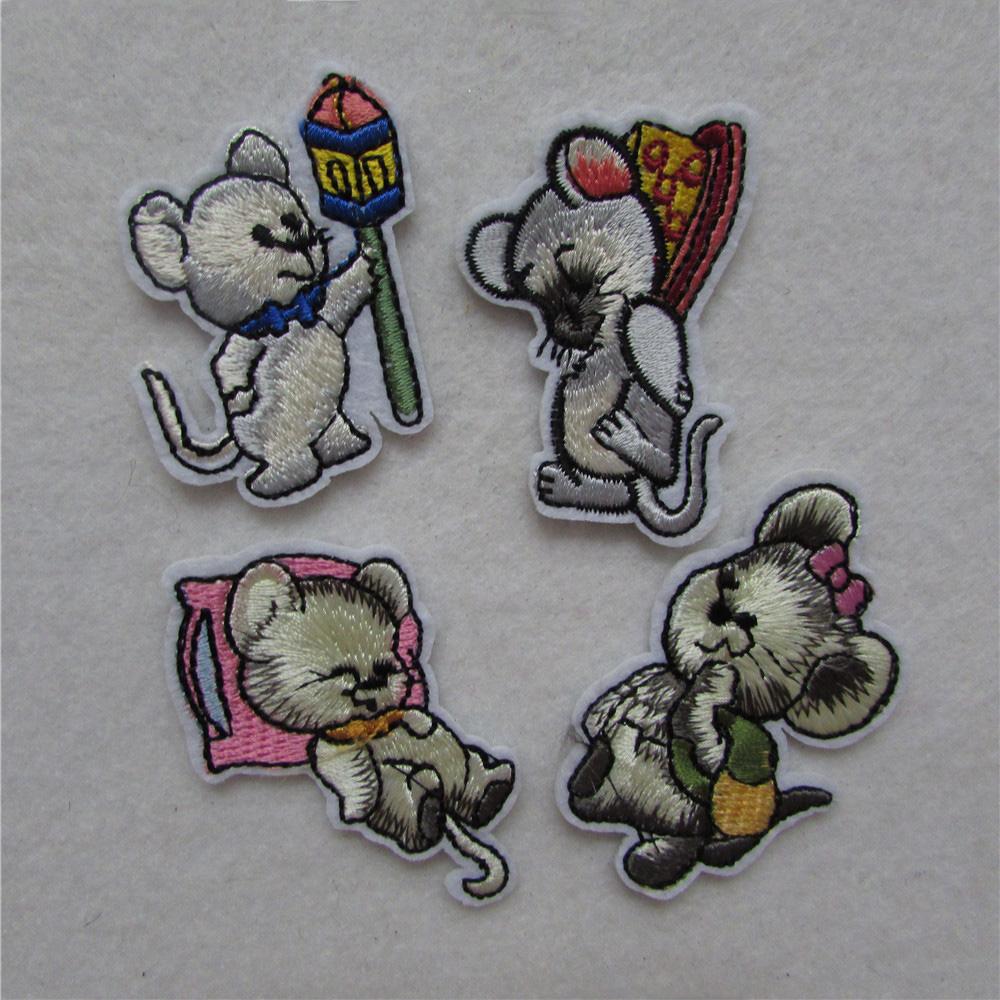
The embroidered fabric patches are often thick and rather rigid and often have glue, which looks like a layer of plastic, on the back. You can use this type of patch to cover an area of torn or discolored tissue.
There are transfer type patches which are made of special paper with a printed front and a matt white back. They can be used to cover tears and are almost invisible if applied to a white fabric.
To create a layer of glue on the back of a patch, you can get thermo setting adhesive material in double-sided tape, in powder or in spray can.
Patches which are intended to cover tears or stains and to merge with the fabric often have a back covered with a protective sheet of paper which must be removed before applying the patch.
If you can’t find the patches that really suit you, you can learn how to create them yourself.
Examine the label of the fabric on which you will stick the patch. Fabrics like jeans cloth and cotton are the best bases for applying iron patches. The fabric you will choose must be at least as thick as the patch it will receive.
Check on the label that the fabric can be ironed. If not, you should see an icon representing an iron crossed out by a cross. If there is no label on the fabric, try to find out what material it is made of.Be careful with polyester fabrics, as they discolor and burn easily at the temperatures that must be reached to stick the patches.
Delicate fabrics such as silk are also not suitable materials for receiving patches with thermosetting glue.
Choose the location where you will stick the patch. Before heating the iron, spread the garment or accessory in fabric so that you can decide the exact positioning of the patch.
If the fabric should only receive a single patch, make the best use of all the surface you have at the location of the bonding to enhance the patch.
If you intend to stick several patches, such as a series of scout badges, for example, determine in advance the space that each patch will occupy.If your patches are in special printed paper, always keep in mind that the letters and asymmetrical elements must appear inverted when you apply them.
Lay the fabric flat on a surface that resists the temperatures generated by the iron. The ideal is to have an ironing board, but if you are not in this case, you can use a double folded towel or a completely flat board made of solid wood.
Iron the part of the fabric where you are going to make the collage by putting it flat on the support. For accessories such as backpacks, arrange the fabric on the support so as to obtain a flat surface large enough to receive the patch.
Place the patch exactly where you want it to stick. The side of the patch where the adhesive material is located should be laid flat on the fabric. Make sure the patch does not crease.With embroidered fabric patches, the adhesive side should face down.With paper patches, the layer of adhesive material is on the same side as the printed pattern. Place this face down on the fabric. The protective layer will be removed as soon as the patch has been stuck on the fabric.
If you use double-sided adhesive tape, you must place its side without protective layer against the fabric.
Certain patches made to merge with the fabric must be applied to the back side of the fabric. Follow the instructions that come with the patch.
Heat the iron. Set it to the maximum temperature that the fabric can withstand. Make sure that the steam option is not activated and that your iron does not contain water.
Cover the patch with a thin towel. Be careful not to move the patch. The towel will protect it as well as the surrounding tissue when you apply the iron.
Position and press the hot soleplate of the iron on the patch. You must keep a firm pressure for about fifteen seconds.
Raise the iron and allow the patch to cool. Lift the towel and check that the patch is well attached to the fabric by lightly rubbing its edges with a finger as if trying to peel it off. If the edges come off a little from the fabric, put the towel back on the patch and press again with the iron for ten seconds. If you stick a paper patch, allow it to cool for at least 10 minutes before peel off the protective layer.